Getting Started with Next.js
Similar to Create React App, Next.js offers a quick way to setup your project using Create Next App - CNA.
CNA lets you quickly spin up a project with 0 dependencies, but also give you a flexibility to extend the default configuration later, if you choose to.
TLTR; You can clone the starting files at the bottom of this unit, but here is a step by step guide how I did setup this project up.
1. Create a Github Repo
Firstly create a git repository on your local computer using GitHub CLI.
// create repository using Github CLI
gh repo create [YOUR-REPO-NAME]
cd [YOUR-REPO-NAME]
2. Create Next App
Inside of your newly created repo spin up a brand new Next.js project
npx create-next-app .
If everything went well you should see a success message like this:
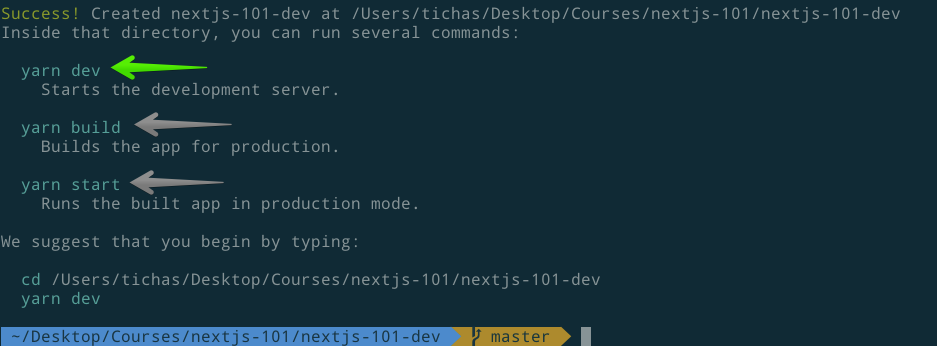
yarn dev is the command that will start the local development server.

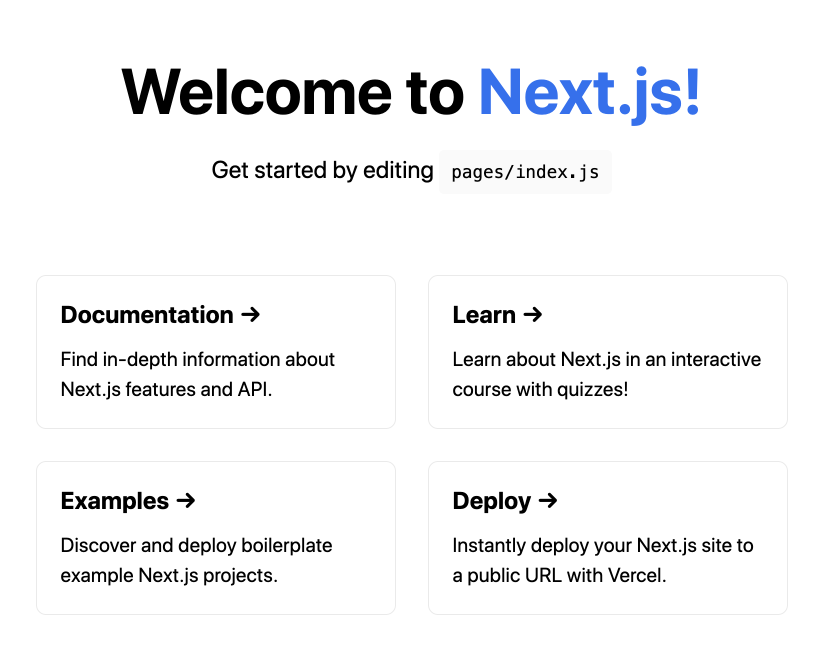
Visit http://localhost:3000/ and you will see a default page with useful links to Next.js resources.
3. CSS styling in Next.js
There are multiple ways how to style your components in Next.js.
- CSS Modules - used by the default page
- Styled Components
- styled-jsx
- emotion
Next.js supports CSS Modules out of the box, but we will want to use TailwindCSS.
We will cover the main benefits of TailwindCSS later on.
3.1 Install TailwindCSS
To install it follow this official TailwindCSS Installation guide.
Here is a more specific guide on setting up TailwindCSS with Next.js.
// install autoprefixer
npm install tailwindcss postcss autoprefixer
// generate tailwind config
npx tailwindcss init -p
// generate tailwind full config - I will explain later
npx tailwindcss init tailwind.config-full.js  --full
3.2 Create SRC folder
This step is optional but keeps the top level project folder clean.
Create src folder and move pages, and styles inside of it.
public/
src/
|-- pages
|-- styles
postcss.config.js
tailwind.config-full.js
tailwind.config.js
...
3.3 Create and import tailwind.css
Inside of src/styles we will create tailwind.css with the default layers and delete the other default css files.
/* src/styles/tailwind.css */
@tailwind base;
@tailwind components;
@tailwind utilities;
Import tailwind.css it in the _app.js.
// src/pages/_app.js
import '../styles/tailwind.css'

function MyApp({ Component, pageProps }) {
  return <Component {...pageProps} />
}

export default MyApp
To get the TailwindCSS autocompletion in your components you might need to restart your VSCode.
3.4 Page Content
index.js is the home page of your Next.js project, replace the content with this.
import Head from 'next/head'

export default function Home() {
  return (
    <div>
      <Head>
        <title>Next.js 101</title>
        <link rel="icon" href="/favicon.ico" />
      </Head>

      <main className="min-h-screen flex flex-col justify-center">
        <img
          className="m-auto my-4 w-24 sm:w-auto"
          alt="Ihatetomatoes"
          src="/assets/img_logo.svg"
        />
        <h1 className="mx-auto text-4xl font-bold">
          Welcome to Next.js 101!
        </h1>
      </main>

    </div>
  )
}
And we are done with the setup, you should see a page looking like this:
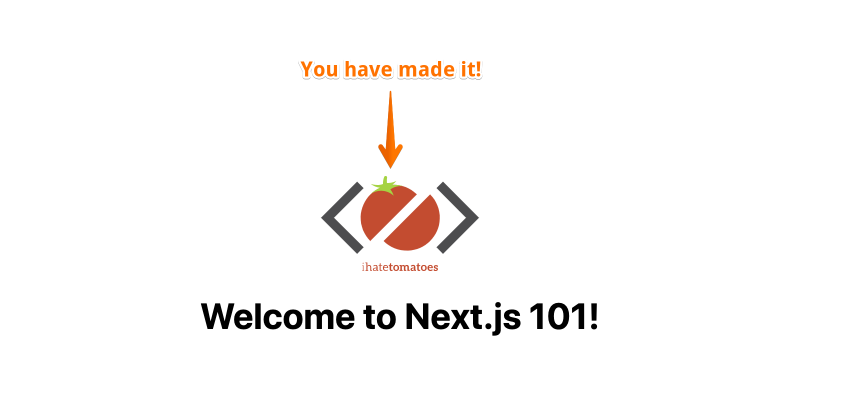
I have also included some assets and icons in the starting files.
4. Push everything to GitHub
Now that we have everything setup locally we will create a first commit and push it to GitHub.
git add .
git commit -m 'project setup'
git push --set-upstream origin master
At this point I have also created start branch that contains the starting files.
Summary
We have used Create Next App to spin up a brand new Next.js project, removed CSS modules and installed TailwindCSS instead.
Starting Files
Clone the start branch of this repo, if you want to follow me step by step from now on.
// clone the start branch
git clone -b start --single-branch https://github.com/Ihatetomatoes/nextjs-101-convertkit.git
// go to the cloned folder
cd nextjs-101-convertkit
// install dependencies
npm install
// start dev server
yarn dev
// open browser http://localhost:3000/